
Scenario:
You need to enable the “Domain Name System Security Extensions” for one authoritative DNS zone you previously configured (please see the “Create an authoritative DNS zone” howto).
How to configure DNSSEC:
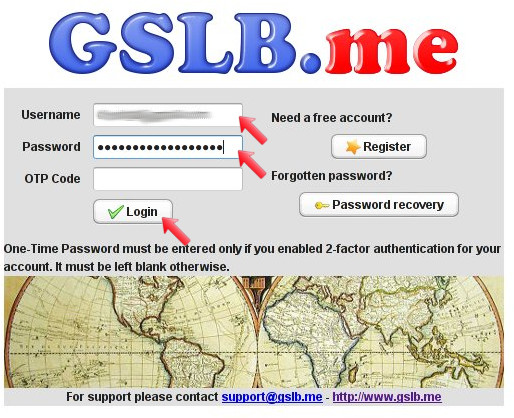
Log on to GSLB.me using your credentials
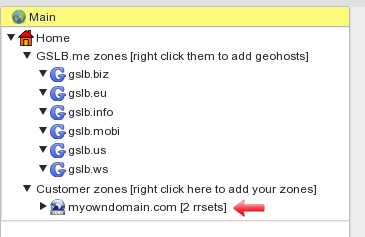
From the main interface dashboard, click on the authoritative zone you want to enable DNSSEC for
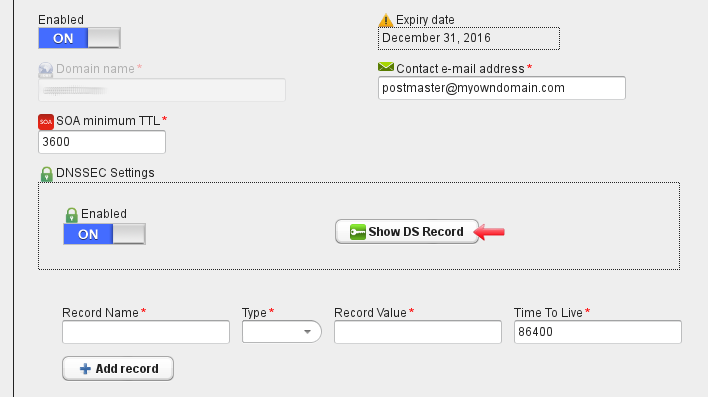
The zone configuration dashboard is then displayed. By default DNSSEC is disabled: click on the “Enabled” switch button to turn it on:
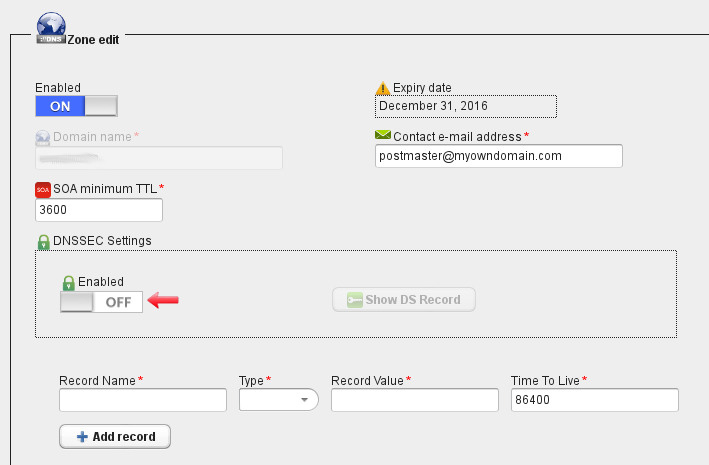
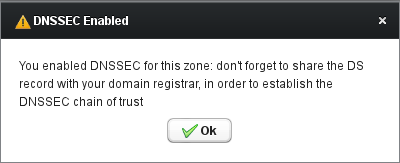
After turning on the “Enabled” flag, a warning is displayed to remind you that you will have to send the DS record to your registrar, in order to establish the chain of trust.
After acknowledging the reminder, click on the “Save” button at the bottom of the page in order to save changes:
After saving changes, click on the “Show DS Record” button, to display the DS record that will have to be shared with your domain registrar:
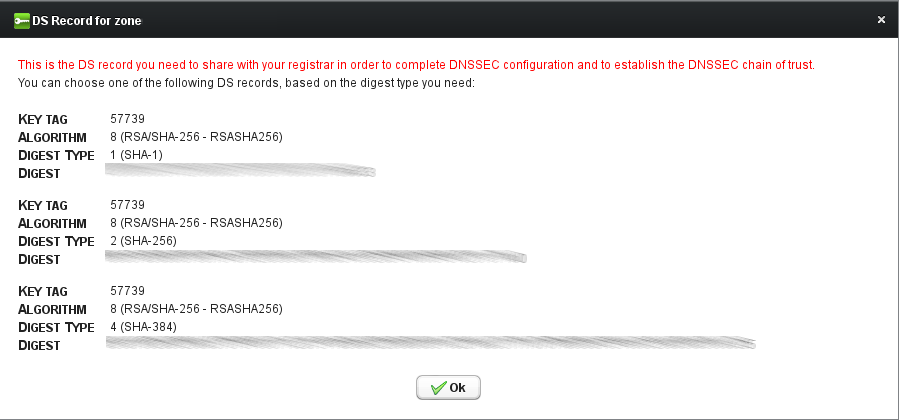
The DS record for your domain is displayed. This will have to be shared with your domain registrar in order to complete DNSSEC configuration. Based on your preferred digest type you will be able to select one of the displayed DS records:
DNSSEC is now enabled, and will be used for all static and dynamic records, and for all geohosts belonging to the authoritative zone.