
Scenario:
You have several servers around the world publishing a website or an application that is accessed by users coming from different countries and geographies.
You want to be able to decide which server(s) users will reach based on their country/countries of origin, and you want to handle “fallback” scenarios in case one or more servers are not available.
GSLB.me georouting allows the creation of an unrestricted number of “routing rules” to achieve flexible, granular and precise DNS balancing and traffic distribution.
Georouting rules can be based on:
- country of origin of the requesting DNS client
- region of origin of the requesting DNS client
- ASN (Autonomous System Number) of origin of the requesting DNS client
- ISP (Internet Service Provider) of origin of the requesting DNS client
In the following configuration example we will assume:
- the FQDN that will be resolved by clients worldwide is geo-name.myowndomain.com. This is your website/application host name.
- we have three servers (targets) that run contents for geo-name.myowndomain.com, that is: you own three servers to support your applications/services/websites:
- 1 Server in Australia, having IP 1.1.1.1
- 1 Server in France, having IP 2.2.2.2
- 1 Server in the USA, having IP 3.3.3.3
- the following georouting rules need to be configured to implement such requirements. Please note that rules ordering is crucial to achieve the desired DNS balancing behaviour
- clients coming from Brazil, Argentina, Peru and Chile will have to be sent to the US-based server (IP address 3.3.3.3). If the US-based server is down, then clients will be redirected to the French server (IP address 2.2.2.2)
- clients coming fromVerizon UK shall be sent to the US-based server (IP address 3.3.3.3).
- clients coming from either The United Kingdom or the USA will be sent to the Australian and French servers (IP addresses 1.1.1.1 and 2.2.2.2 respectively). Selecting either the Australian or the French server has to be done in round-robin. If both the Australian and the French server are down, clients will be redirected to the US-based server (IP address 3.3.3.3). Notice that due to the previous, ISP-based rule, users in the UK that connect through Verizon UK will get a 3.3.3.3 reply, whereas other UK-based users will get 1.1.1.1 and 2.2.2.2.
- clients coming from ASN (Autonomous System Number) AS23564 shall be sent to the Australian server (IP address 1.1.1.1) with no fallback
- clients originating from other countries will use either 1.1.1.1, 2.2.2.2 or 3.3.3.3 based on their vicinity (geographical proximity) to the three servers. This is a kind of fallback rule, to make sure that valid DNS replies are always sent back to requesting clients.
How to configure it:
Log on to GSLB.me using your credentials or register if you still don’t have an account
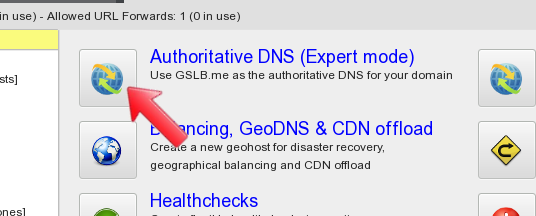
If not already done, create an authoritative DNS zone: we will add a geohost to it later on. Georouting rules are applied to geohosts so in order to use georouting the minimum requirement is to set up a geohost: this howto shows the full picture, also including authoritative zone creation.
Fill out domain name and contact e-mail address
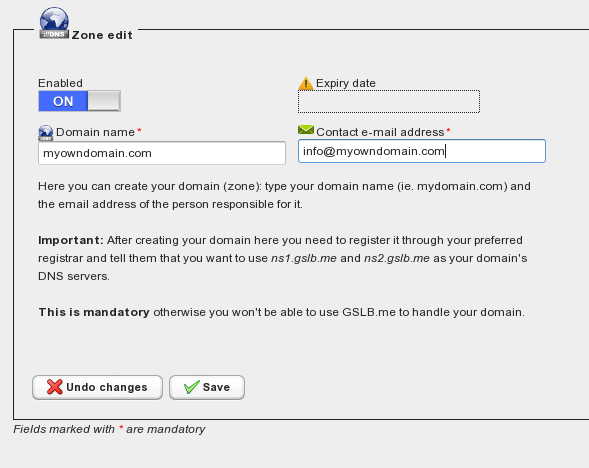
when done, click “Save” to save the newly created zone, which is then displayed on the left-hand side of the web interface.
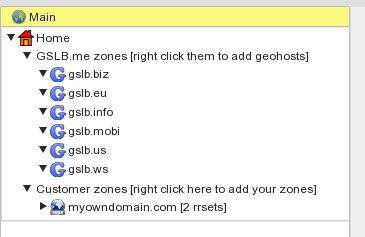
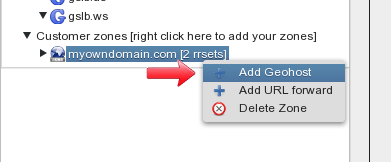
we now need to create the geohost where we will set up georouting. Right clicking on the zone name displays the menu where “Add Geohost” has to be clicked.
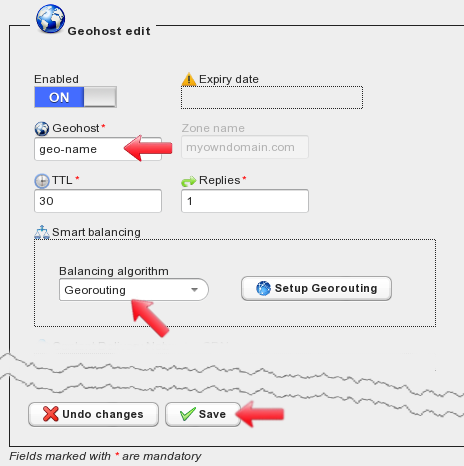
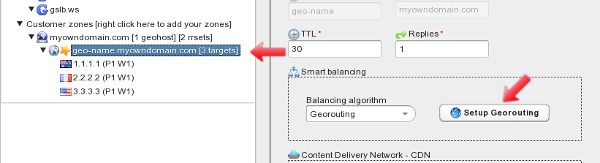
In the geohost edit panel, fill out at least the geohost name and set the balancing algorithm to “Georouting” (the “Setup Georouting” button will be enabled automatically) and save the changes. This creates the geohost where georouting will be configured.
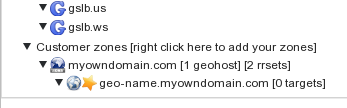
The newly created geohost is now displayed in the main zones tree: the yellow star icon indicates that changes have been saved but are still not active, we will commit them later on.
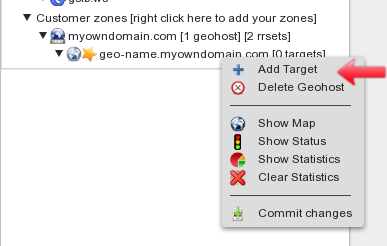
Geohost targets must be added now: each target is one of the servers that host the website/application that we want to access through georouting. Right click on the geohost name and select “Add Target” from the menu:
The target edit panel required configuration of at least the target’s IP Address (or FQDN) and checks to determine whether the target is working as expected or if it’s down/unavailable. After setting paramters, click on save.

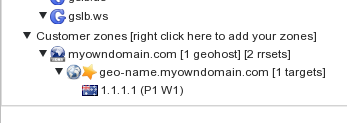
The newly added target is then displayed in the main zones tree:
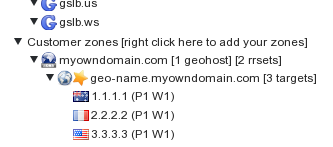
Now repeat the steps to add a new target, in order to enter 2.2.2.2 and 3.3.3.3. When both are added, the main zones tree displays them with the relevant country flags showing their geographical location.
Georouting rules can be configured now. Left click on the geohost name and then click the “Setup Georouting” button on the right.
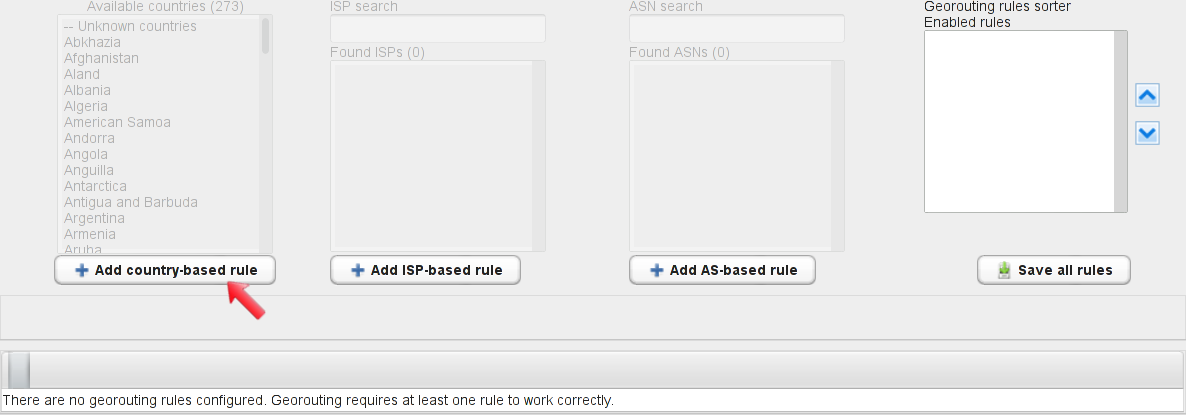
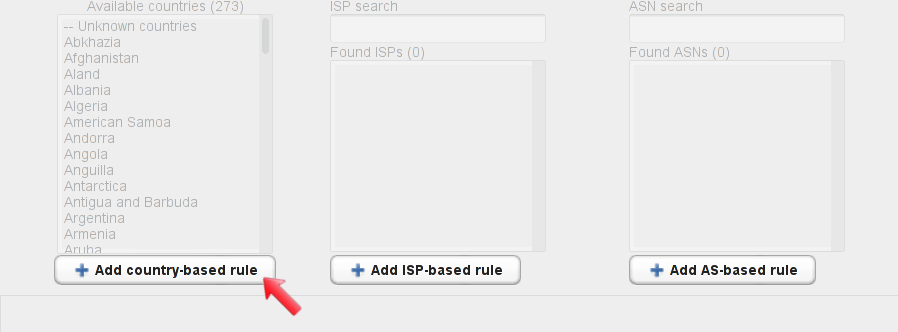
This opens the georouting configuration dashboard. The dashboard provides full control on rules based on client country, ASN and ISP.
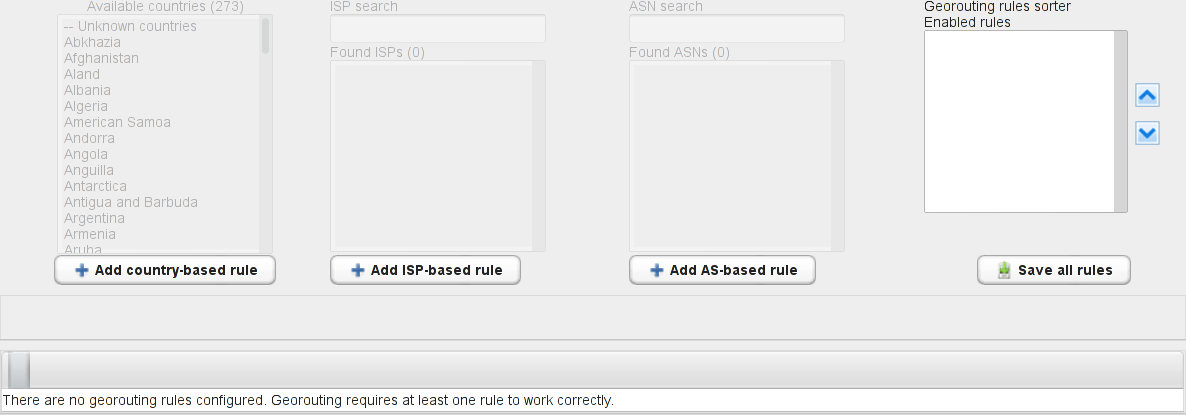
By clicking on “Add country-based rule” we create the first rule we need:
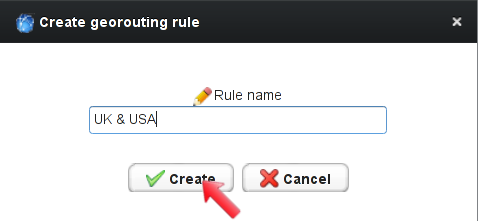
We need to type the rule descriptive name:
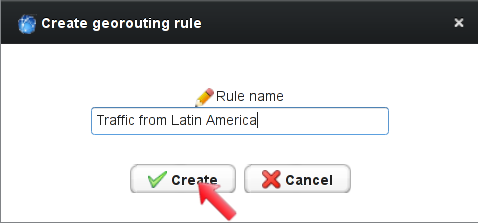
By clicking on “Create” the rule configuration panel is displayed.
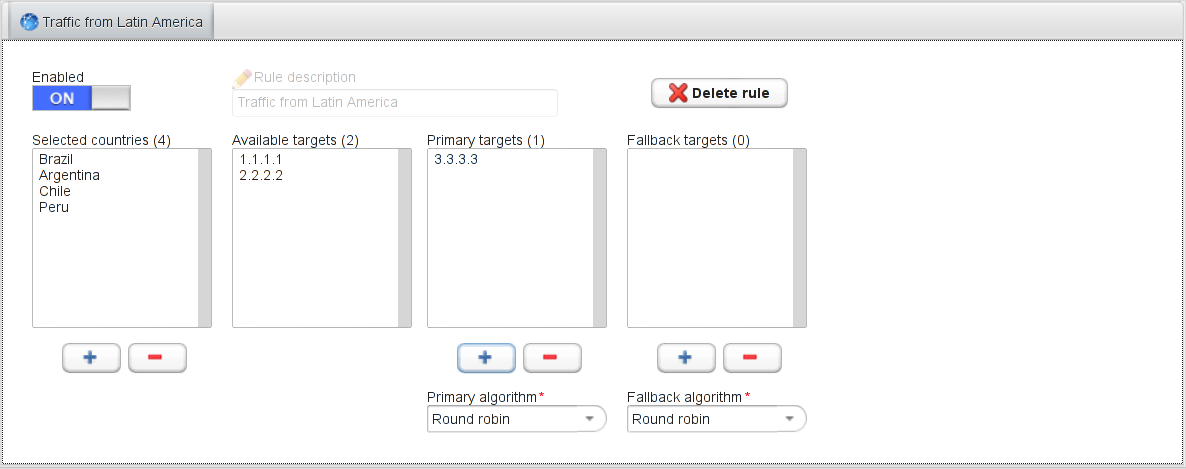
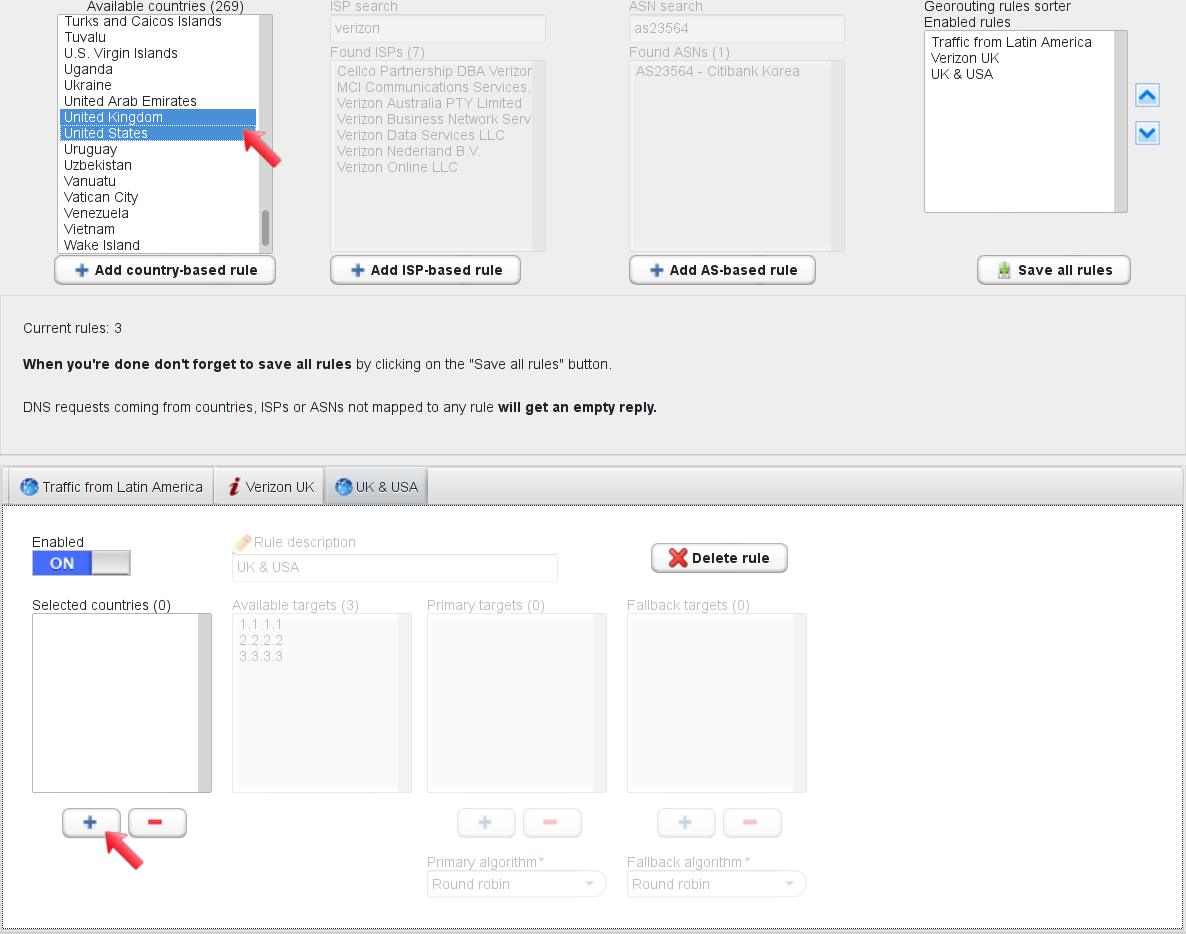
The lower section of the dashboard is the rule panel: each rule can be customized by enabling/disabling it and four sections allow full configuration of the rule behaviour.
The “selected countries” section lists the countries that match this rule. The rule itself will be used whenever a DNS request comes from a client located in one of the “selected countries”.
GSLB.me will then check the targets configured in the “Primary targets” list: if available primary targets are found, they are used to build the DNS response. If the “Primary targets” list contains more than one target, the “Primary algorithm” will be used to decide which target(s) to use for the DNS reply.
The “Fallback targets”, if configured, defines the list of one of more targets that are used in case all primary targets are unavailable/marked “down”. The “Fallback algorithm” will be used to determine which fallback targets to use to build the DNS response.
Back to the configuration, from the “available countries” list at the top of the dashboard, one or more countries can be selected and added to the “selected countries” list by clicking the “+” button:
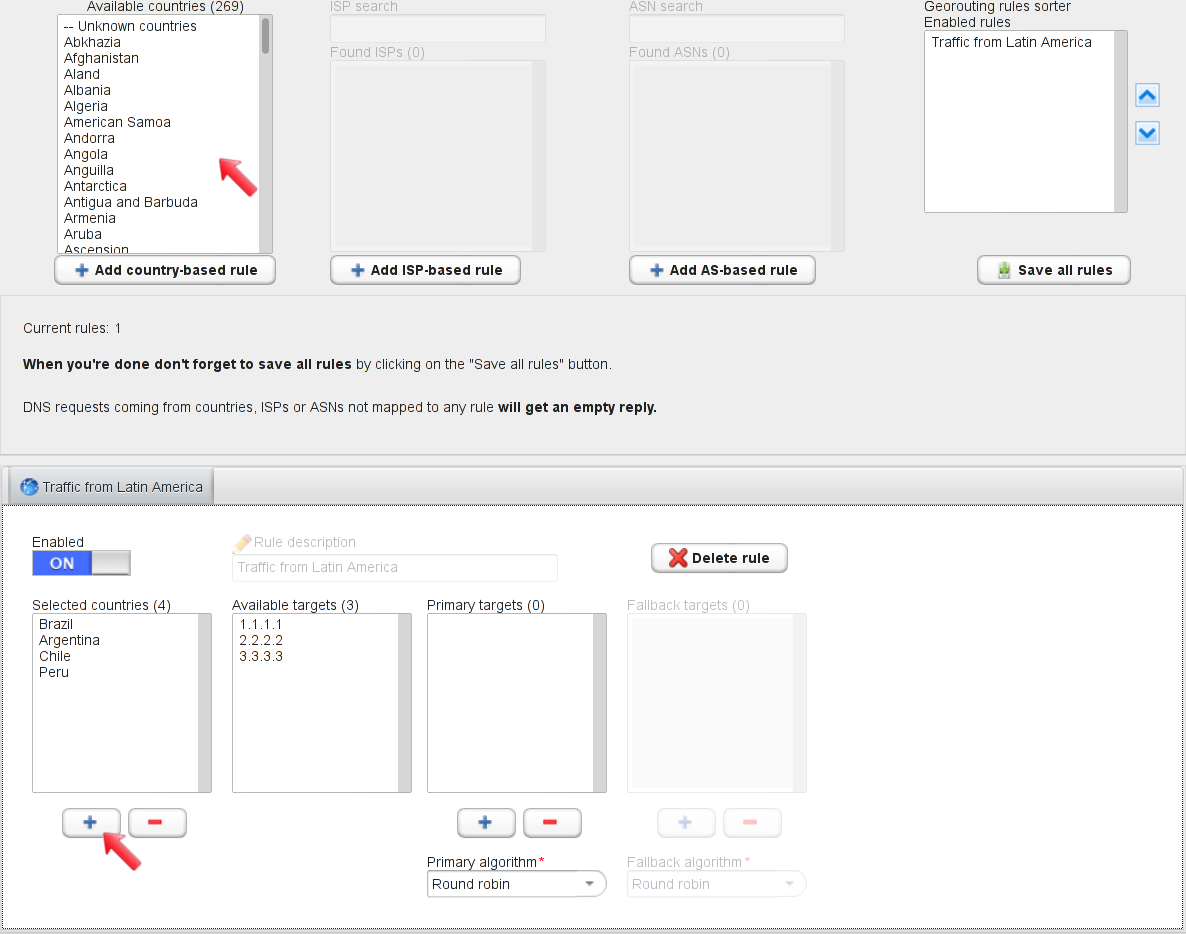
Selected countries are then added to the list of “Selected countries”.
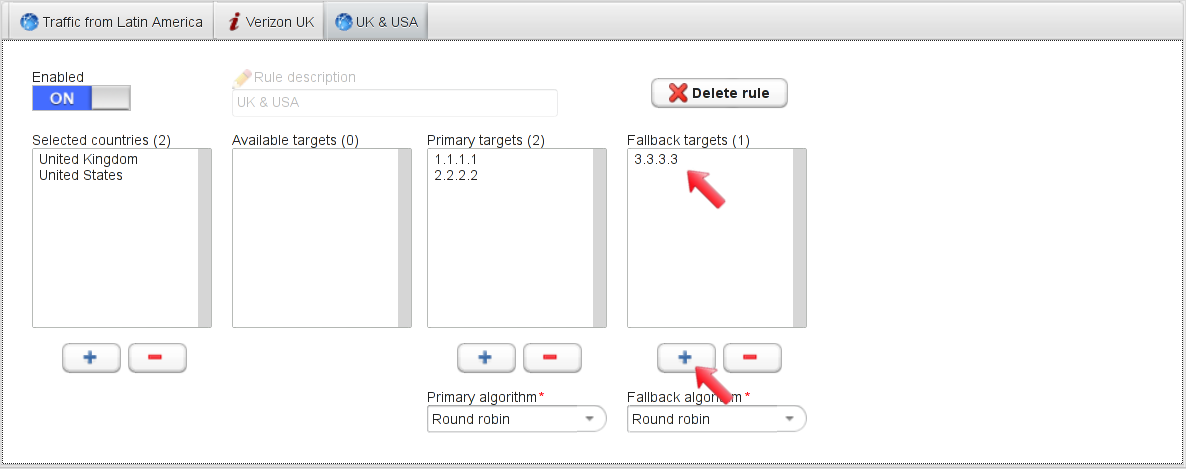
This rule is valid and will be used for all client DNS requests coming from the selected countries. Now its primary targets must be defined: from the “Available targets” list select the primary targets that will clients coming from the specified countries (3.3.3.3 in our example) and click the “+” button in the “primary targets” section:
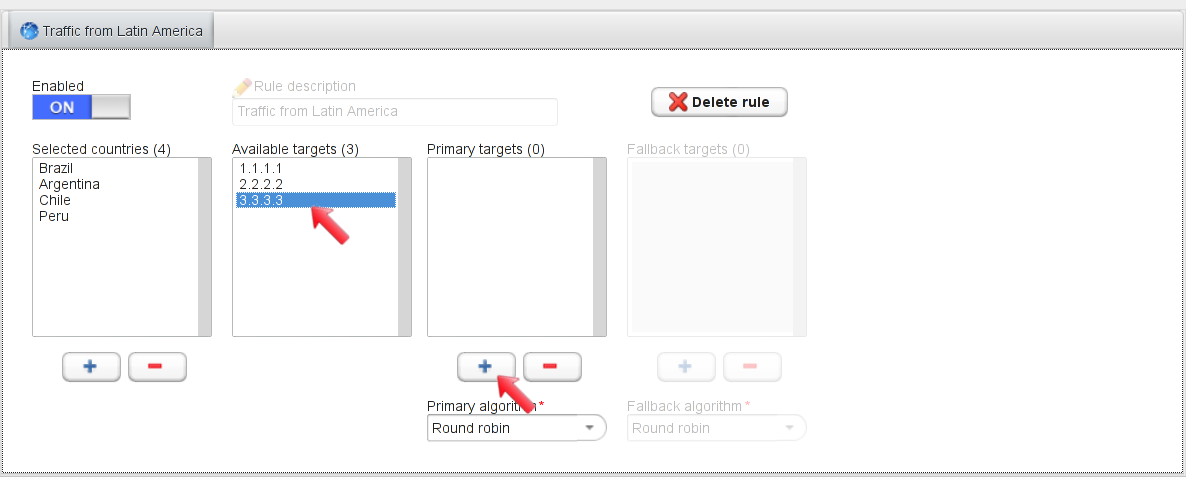
The selected target is moved from the “available targets” list to “primary targets”:
So far, the rule replies to all DNS requests from the selected countries with 3.3.3.3 In case 3.3.3.3 is unavailable, we want to fallback by returning IP address 2.2.2.2, so it must be added to the “Fallback targets” list. To do so, select 2.2.2.2 from the “Available targets” list and click the “+” button in the “Fallback targets” section:
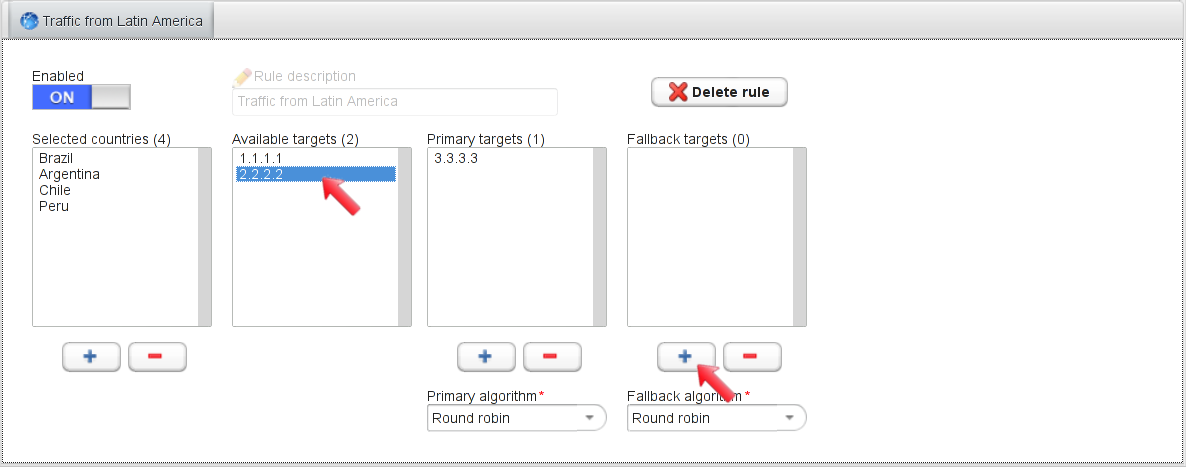
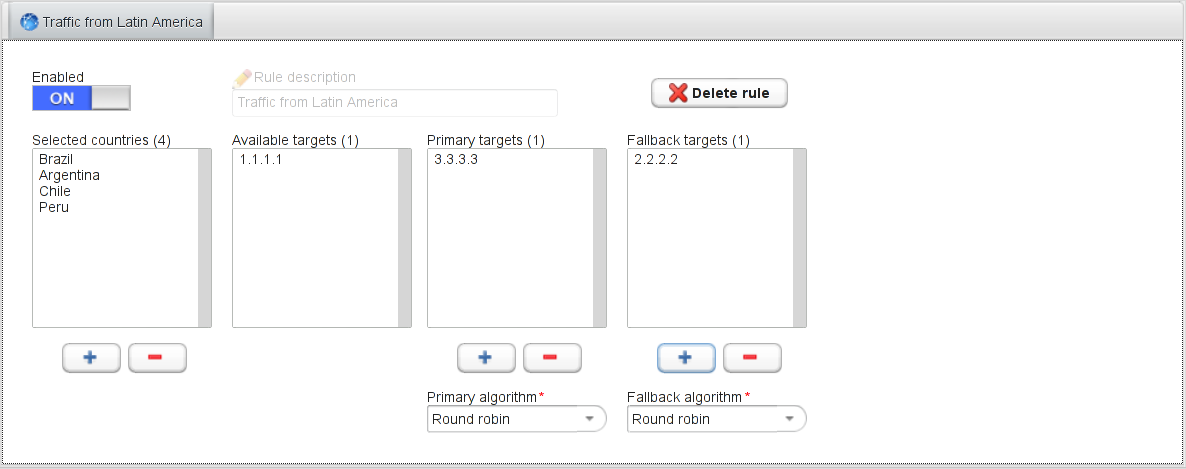
The selected target is then moved to the “Fallback targets” list. Rule configuration is completed:
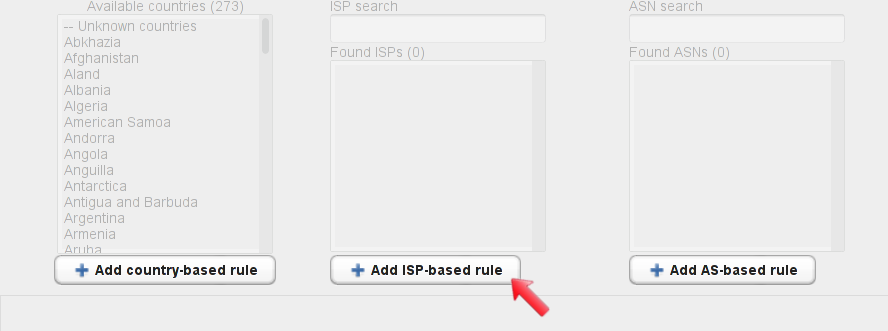
The second rule must match requests for DNS clients that connect from Verizon UK. An ISP-based rule need to be added by clicking on the “Add ISP-based rule” button:
The rule name must be typed:
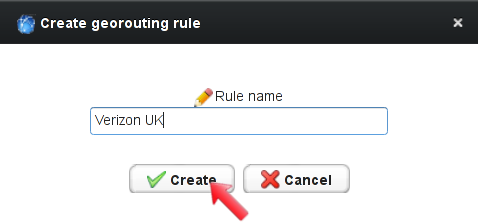
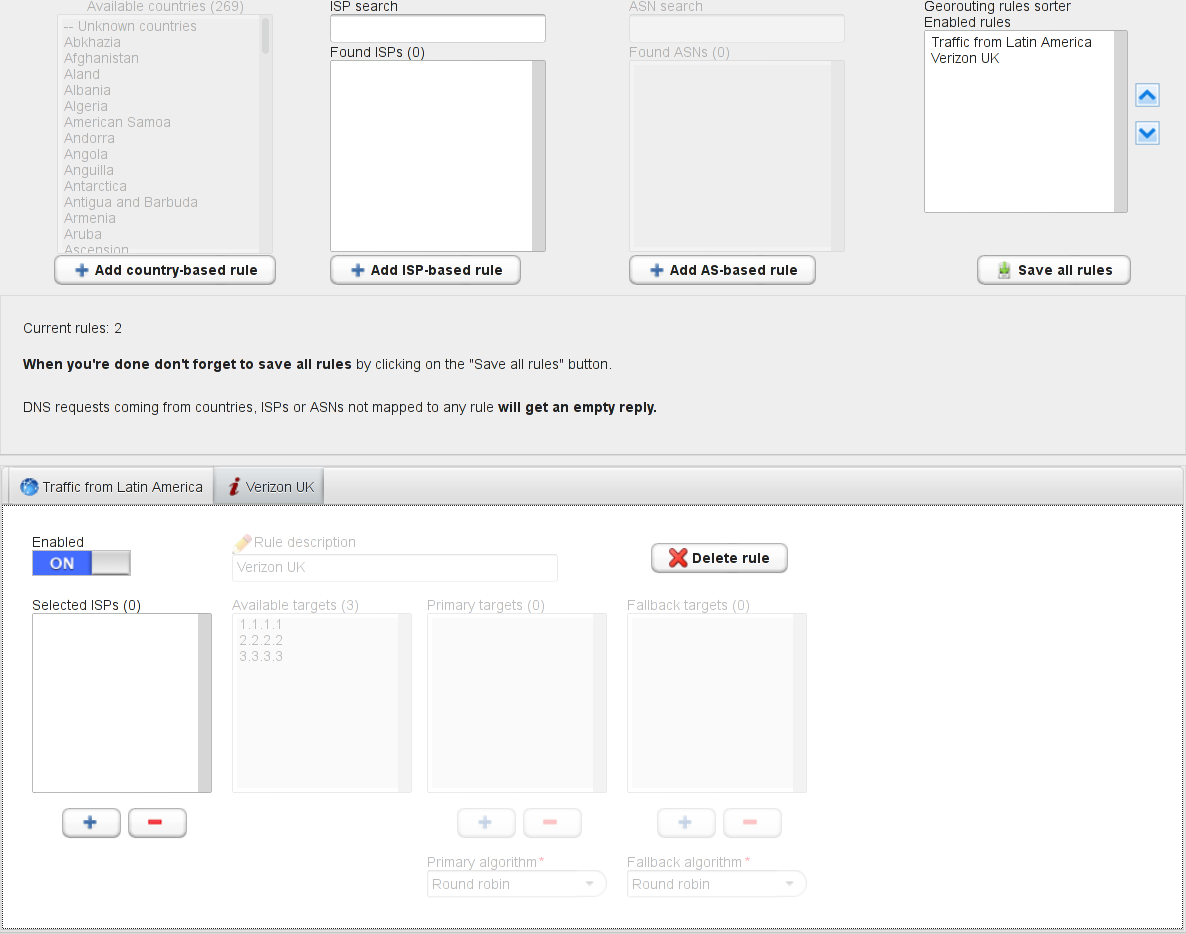
The new ISP-based rule is then added and its configuration panel is displayed:
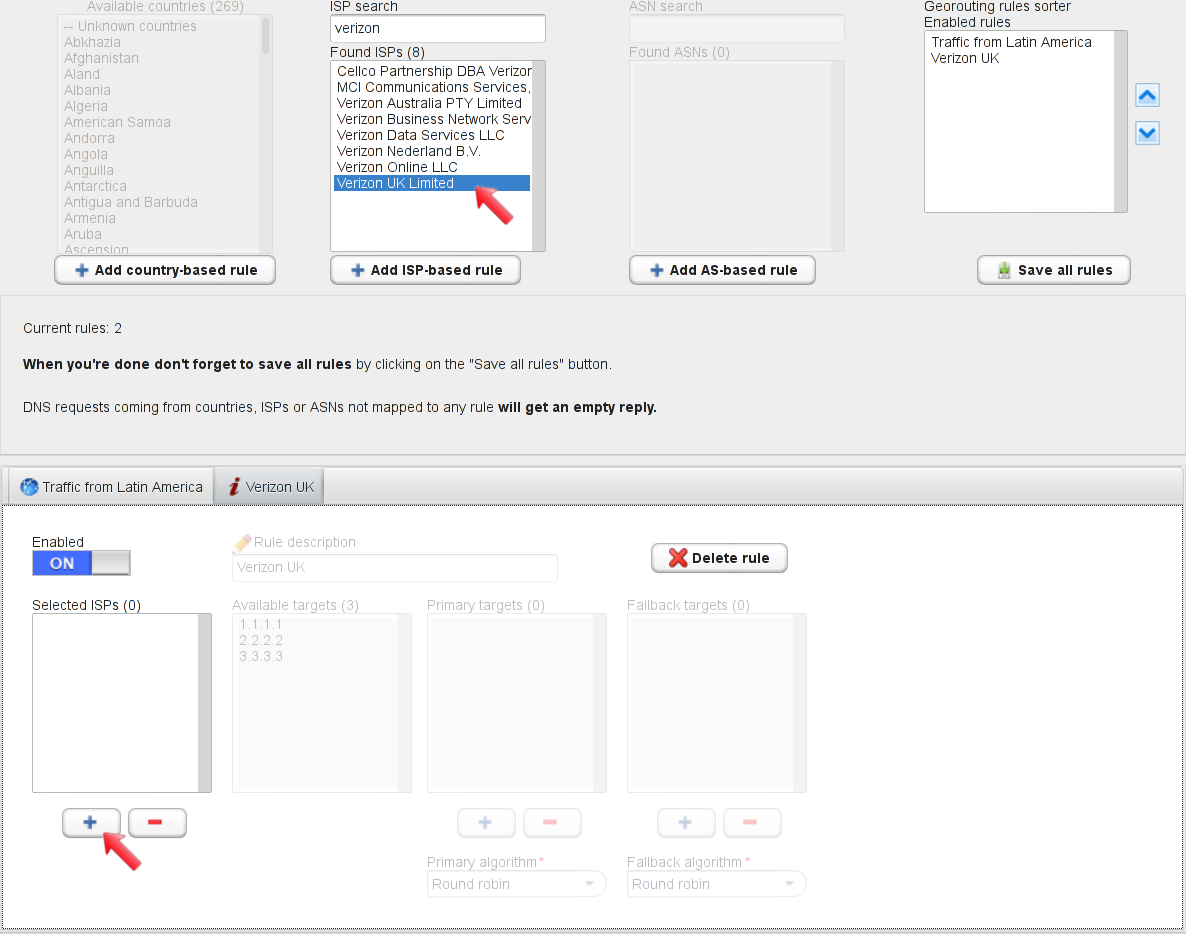
Verizon UK must be selected: type a search string in the “ISP search” box (ie. “verizon”, search is case insensitive). The list of Found ISP is updated. You might need to type more characters in case nothing is displayed in the “Found ISPs” list, the maximum number of displayed ISPs is set to 500 to keep the user interface tidy and fast.

Select “Verizon UK Limited” from the list of found ISPs and then click the “+” button in the rule configuration panel, to add the selected ISP to the list of those who will match the ISP-based rule:
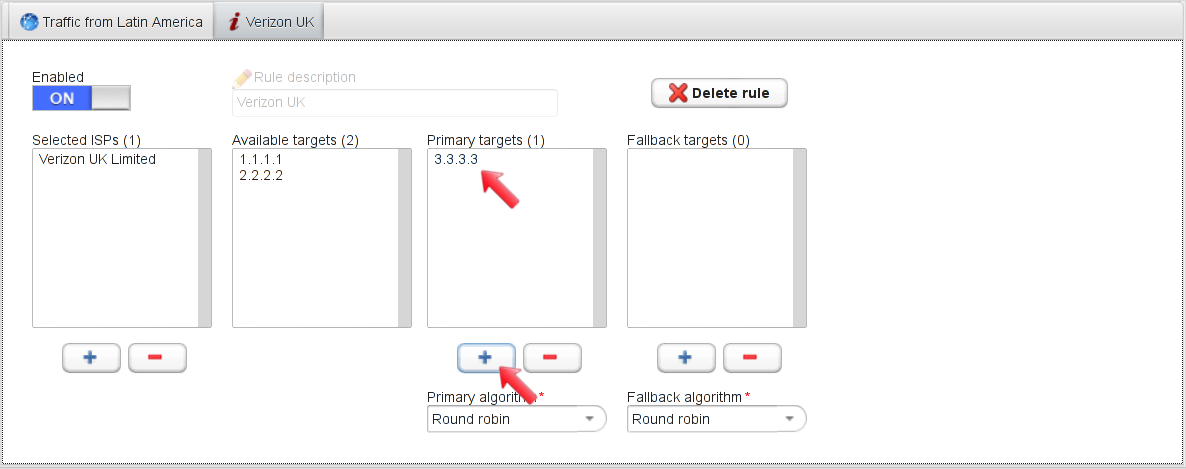
In our example we want all DNS requests coming from Verizon UK go to 3.3.3.3: we need to select the target from the list of available targets, and then click “+” to add it. The target is then moved to the “Primary targets” list.
ISP rule configuration is complete. The next rule we need is the one matching requests coming from the UK and the USA. Click on “Add country-based rule” to add the new rule:
Type the rule descriptive name and click “Create”:
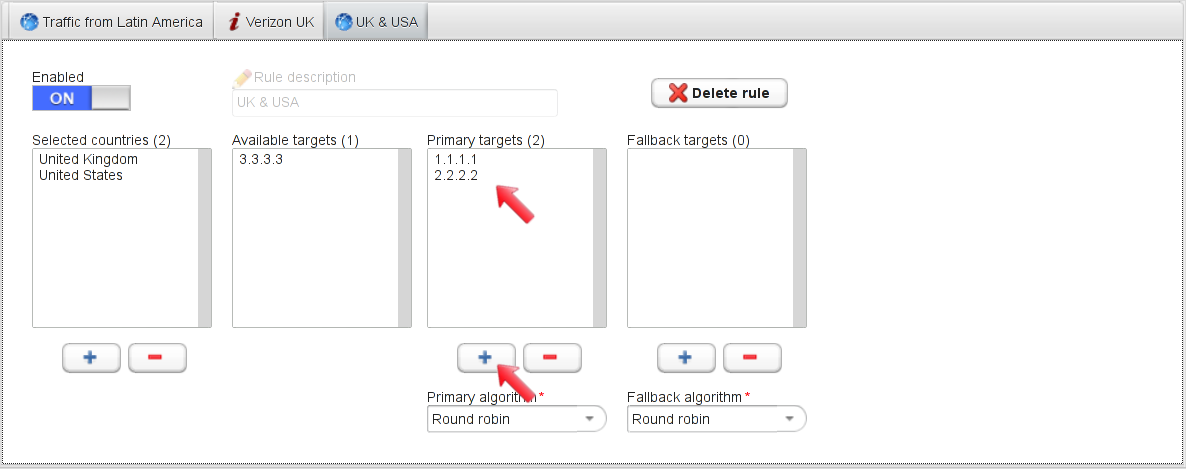
The rule configuration panel is displayed: select the countries you need to match and click on the “+” button to add them to the rule:
Requests coming from the UK and the USA will be replied with 1.1.1.1 and 2.2.2.2 using a round robin algorithm: select the two targets from the list of available ones and click the “+” button to add them to the list of primary targets.
We need to set up 3.3.3.3 as the fallback target: in case both primary targets are down, it will be used to reply to UK and USA clients. Click on the 3.3.3.3 target and on the “+” button to add it to the fallback targets list.
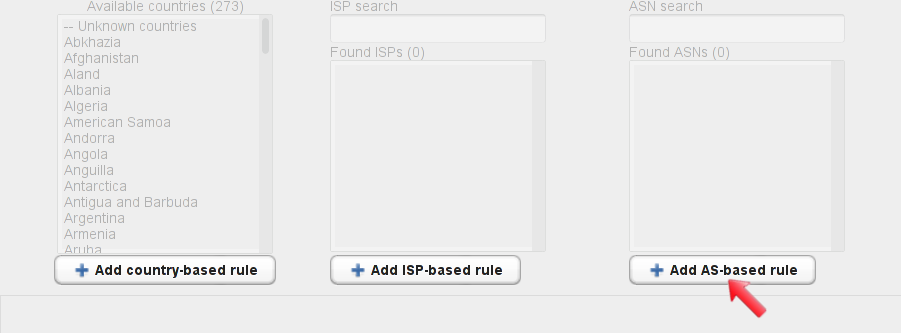
The next rule to be configured is ASN-based. We need all clients sending DNS requests from AS23564 to get 1.1.1.1 as a DNS response. Click on “Add AS-based rule” to create the new rule:
Type the rule descriptive name:
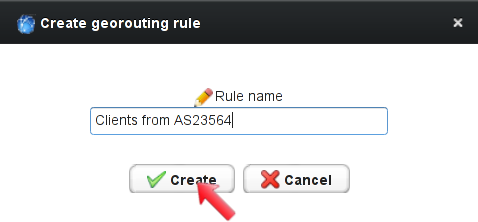
The ASN-based rule configuration panel is displayed:
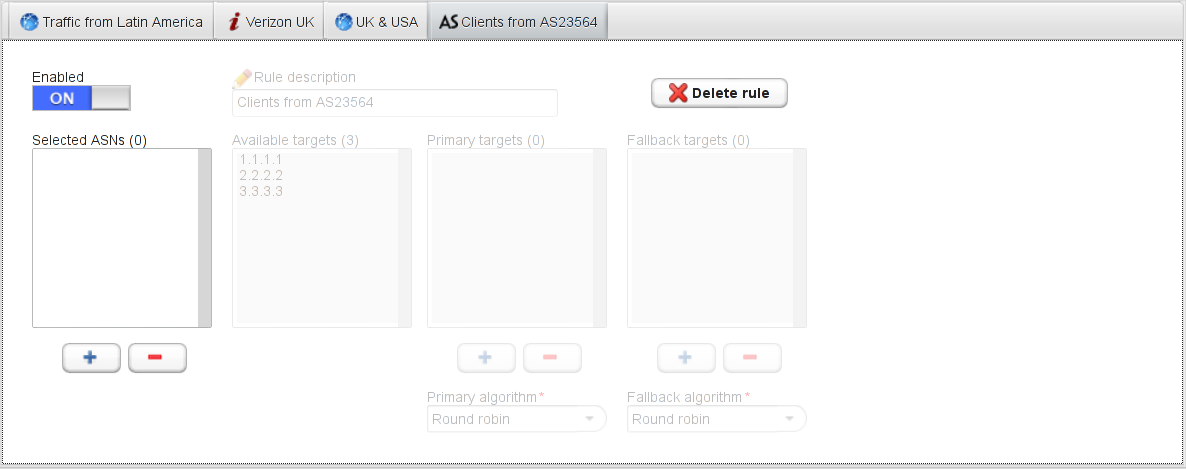
AS23564 must be selected: type a search string in the “ASN search” box (ie. “AS2356, search is case insensitive). The list of Found ASN is updated. You might need to type more characters in case nothing is displayed in the “Found ASNs” list, the maximum number of displayed ASNs is set to 500 to keep the user interface tidy and fast.
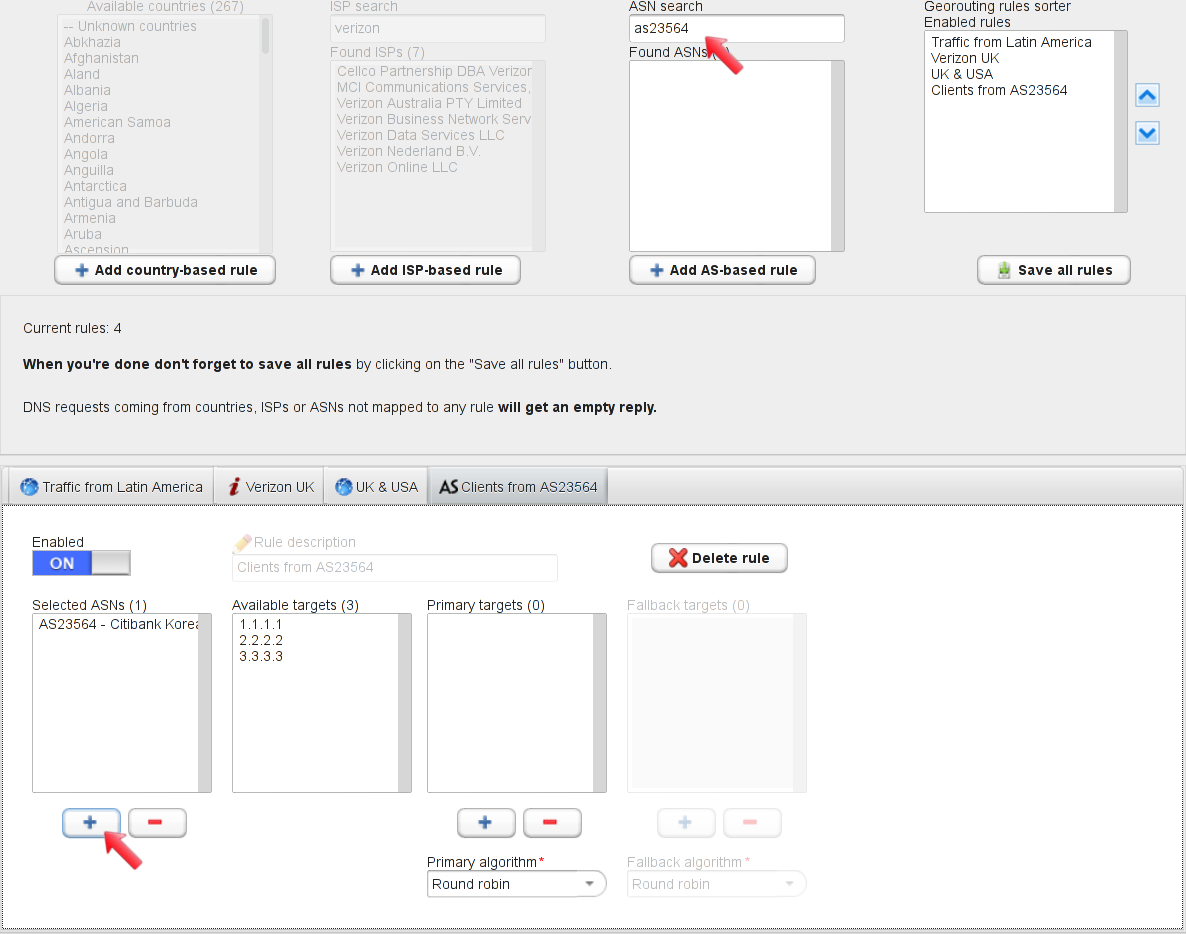
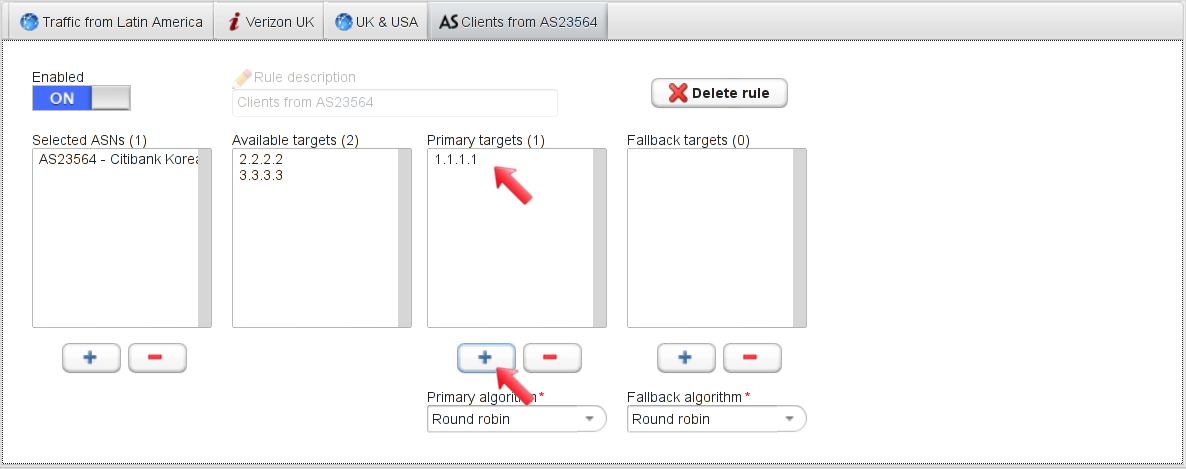
Primary targets that will be used to reply DNS queries need to be selected: click on 1.1.1.1 in the “Available targets” list and then click the “+” button under the “Primary targets” list, to move the target to the list itself.
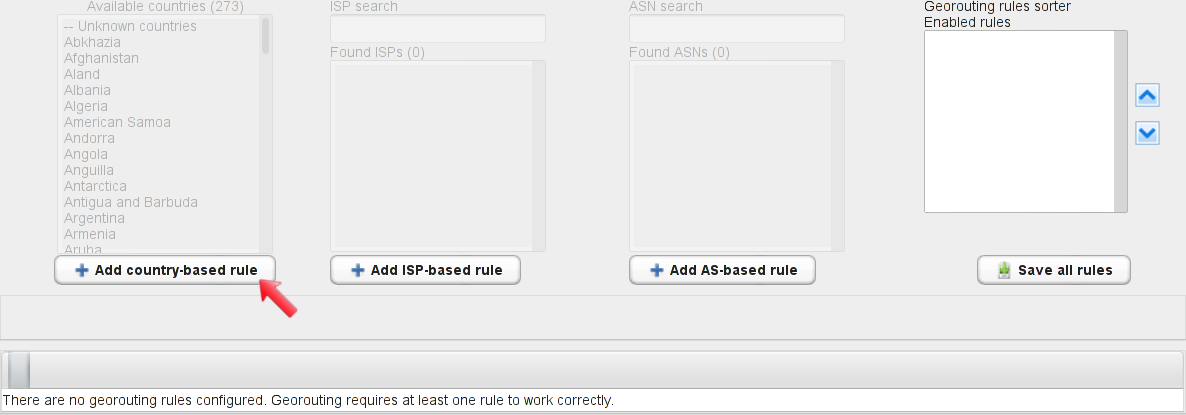
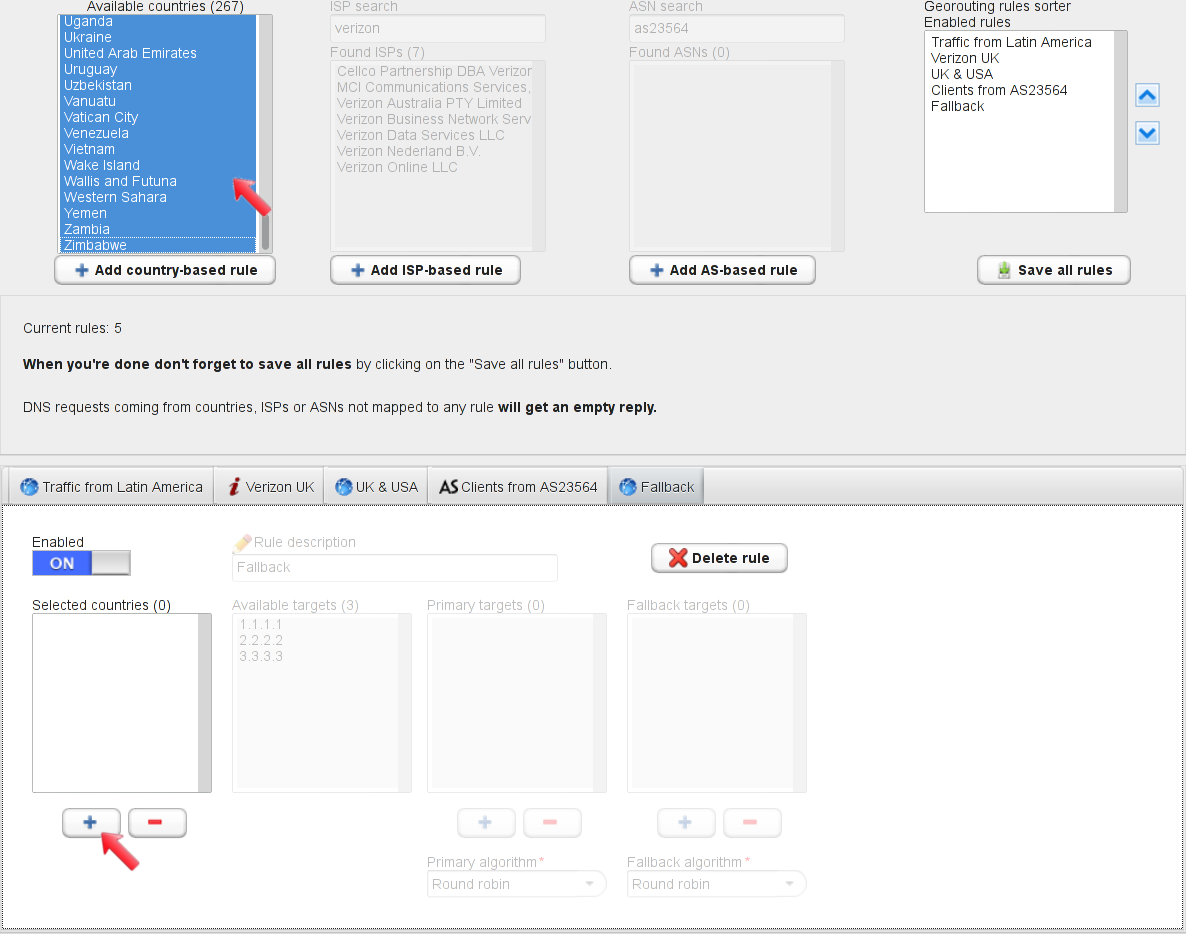
The last rule to be configured is the default one: it will match all remaining countries in order to return a DNS reply for all clients not matched by the previous georouting rules. The country “– Unknown countries” matches all requests that should come from IP addresses that for some reasons can’t be mapped to a specific country (ie. satellite providers, etc).. Add a country-based rule by clicking on the “Add country-based rule” button:
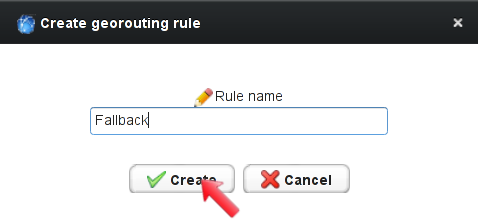
Type the rule descriptive name:
From the “Available countries” list select all countries: these are those that are not matched by previously configured per-country rules. When done, click on the “+” button in the rule configuration panel to add all selected countries to the rule itself.
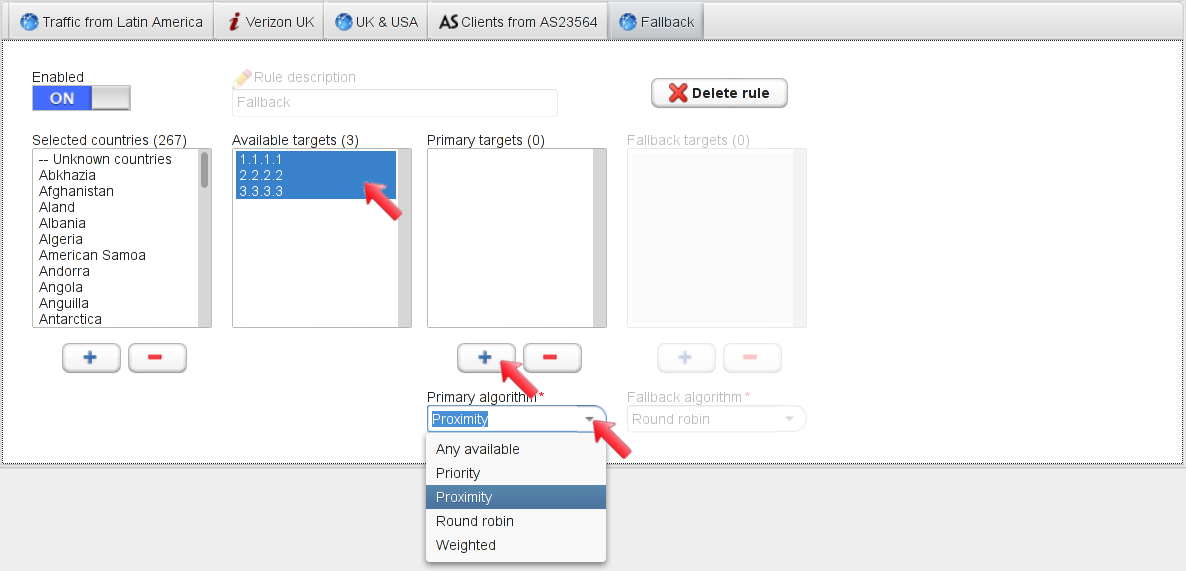
Select all the three targets and add them to the list of primary targets by clicking on the “+” button. Click on the “Primary algorithm” and select “Proximity”. This way, the “Fallback” rule will reply DNS clients with the geographically closest available target.
Once all georouting rules are configured, we need to make sure they will be evaluated in the desired order. Rules ordering can be set up and modified using the “Georouting rules sorter” at the top right side. The “up” and “down” arrows can be used to sort enabled rules.
When rules have been sorted according to your needs, “Save all rules” must be clicked in order to permanently save changes. This step is mandatory.
After saving all rules, modifications must be committed to make them active: this is done by clicking the “Commit” button at the top of the screen.
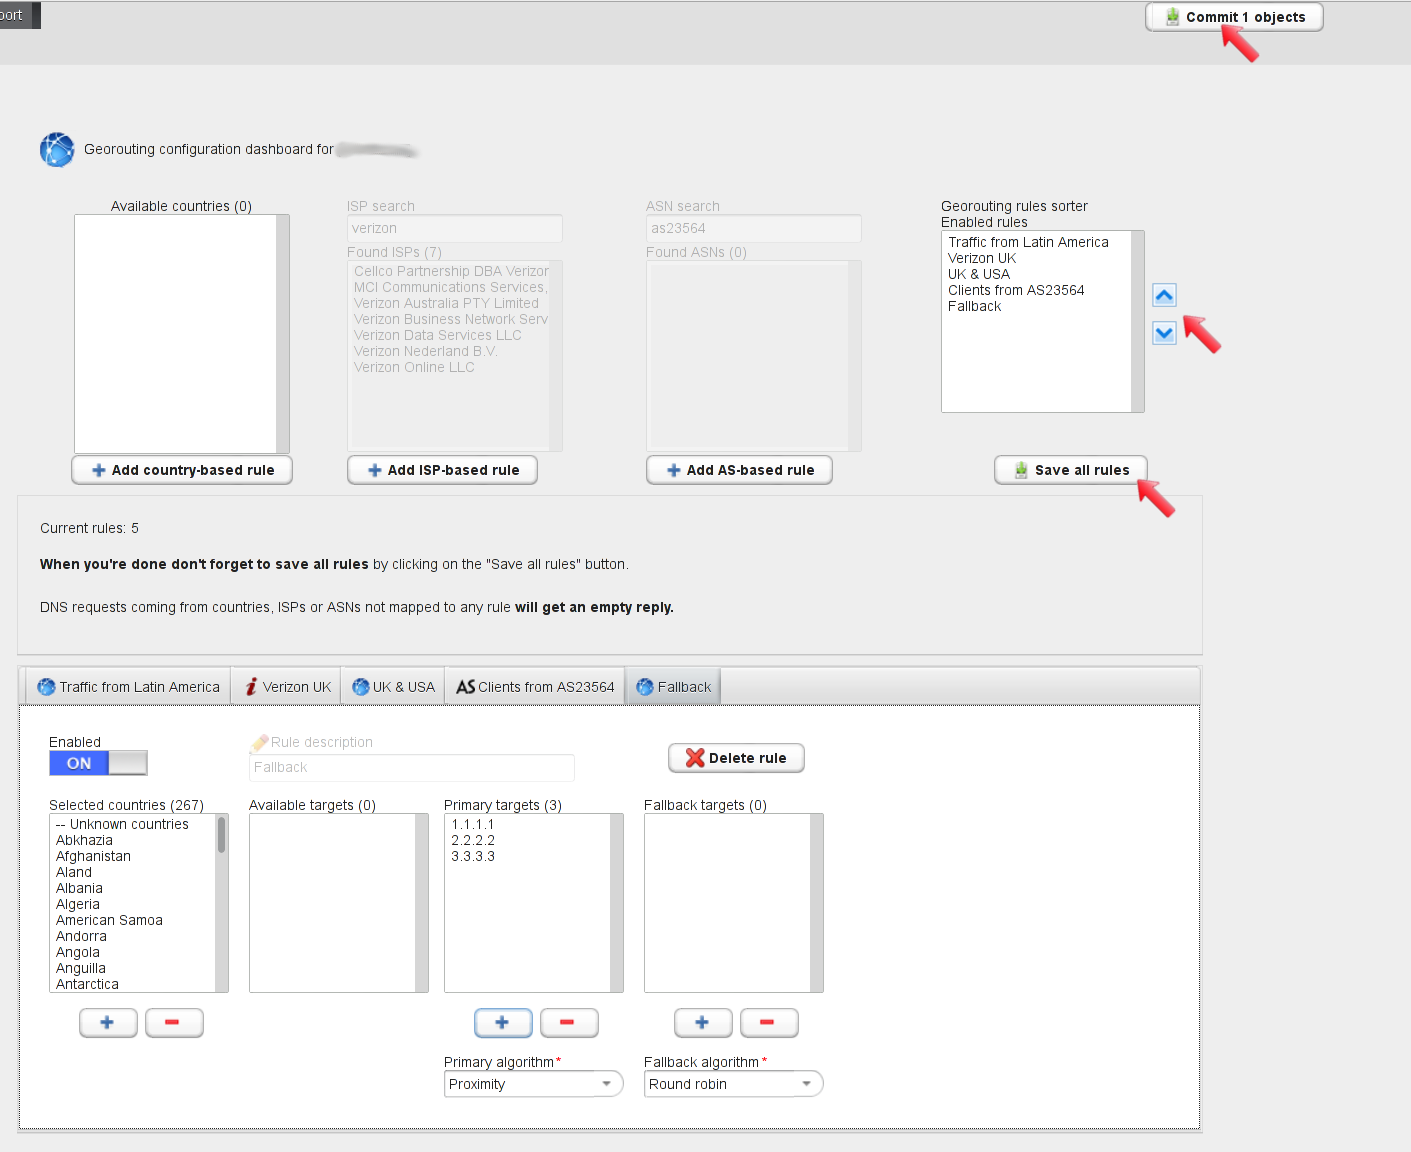
Georouting configuration is complete. Don’t forget to commit all changes to make them active, by clicking on the “Commit” button displayed at the top of the screen.
The last needed step is authoritative DNS reconfiguration for the “myowndomain.com” domain: authoritative DNS must be set to ns1.gslb.me and ns2.gslb.me. This is of course needed only when DNS resolution for the domain is handled by GSLB.me. Your mileage may vary: you could also create a geohost using georouting and belonging to one of our “public” zones: gslb.biz, gslb.eu, gslb.info, gslb.mobi, gslb.us and gslb.ws and then simply configure a CNAME record in your own authoritative DNS zone in order to have DNS resolution handled by GSLB.me.